|
<< Click to Display Table of Contents >> Printing |
  
|
|
<< Click to Display Table of Contents >> Printing |
|
The table below gives an overview of valid combinations that can be used for printing.
Filament type |
Standard Build-plate (br/orange) |
Multi-Material Build-plate (black) |
Heated Chamber |
SwiftTools |
Soft Spring |
|||
M-M 0.2 |
M-M 0.4 |
M-M 0.8 |
Carbon |
|||||
proCarbon |
YES |
|
YES |
|
|
|
YES |
|
proGlass |
YES |
|
YES |
|
|
|
YES |
|
proKev |
YES |
|
YES |
|
|
|
YES |
|
proNylon |
YES |
|
YES |
YES |
YES |
YES |
YES |
|
proPLA |
|
YES |
|
YES |
YES |
YES |
YES |
|
proABS |
|
YES |
YES |
YES |
YES |
YES |
YES |
|
proFlex |
|
YES |
|
YES |
YES |
YES |
YES |
NEEDED |
|
As a user it is important to keep track of: 1. the right build-plate and the right SwiftTool, as shown above. 2. to add the Soft Spring when printing proFlex. |
The rest is taken care of by the ZYYX Simplify3D profiles.
Below, the recommended method of printing from the SD Card, is described. This is the most convenient solution, since it is more robust and frees your computer during the print. If you still want to print from computer via USB or control the printer that way, contact ZYYX at info@zyyx3dprinter.com, and we will send you drivers.
The ZYYX 3D printer uses the Simplify 3D Integrated Printing Software to generate the print file needed for printing. Please refer to Slicing Your First Print File for details on how to create a print file.
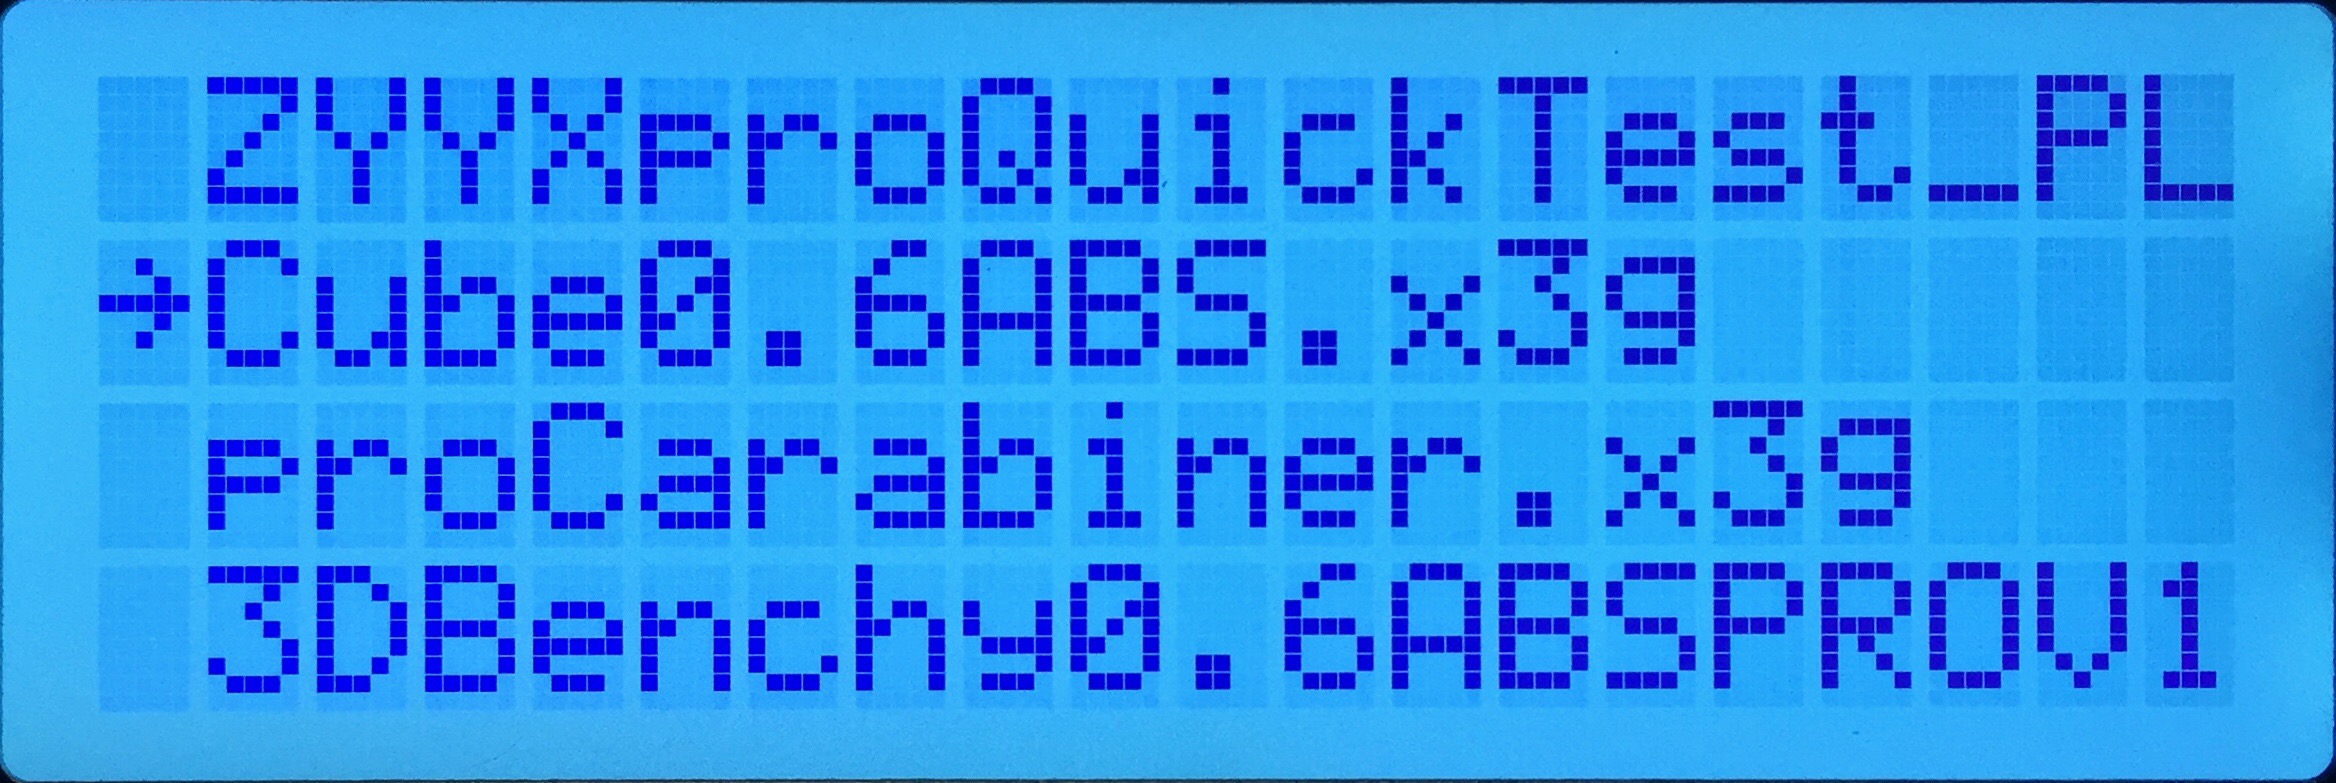
To skip that process for now, the SD card comes ready and loaded with the proCarabiner model, so you simply need to load proCarbon filament (other filament types will not work with this file), place the Standard Build-plate (brown/orange) in the printer, and begin printing!
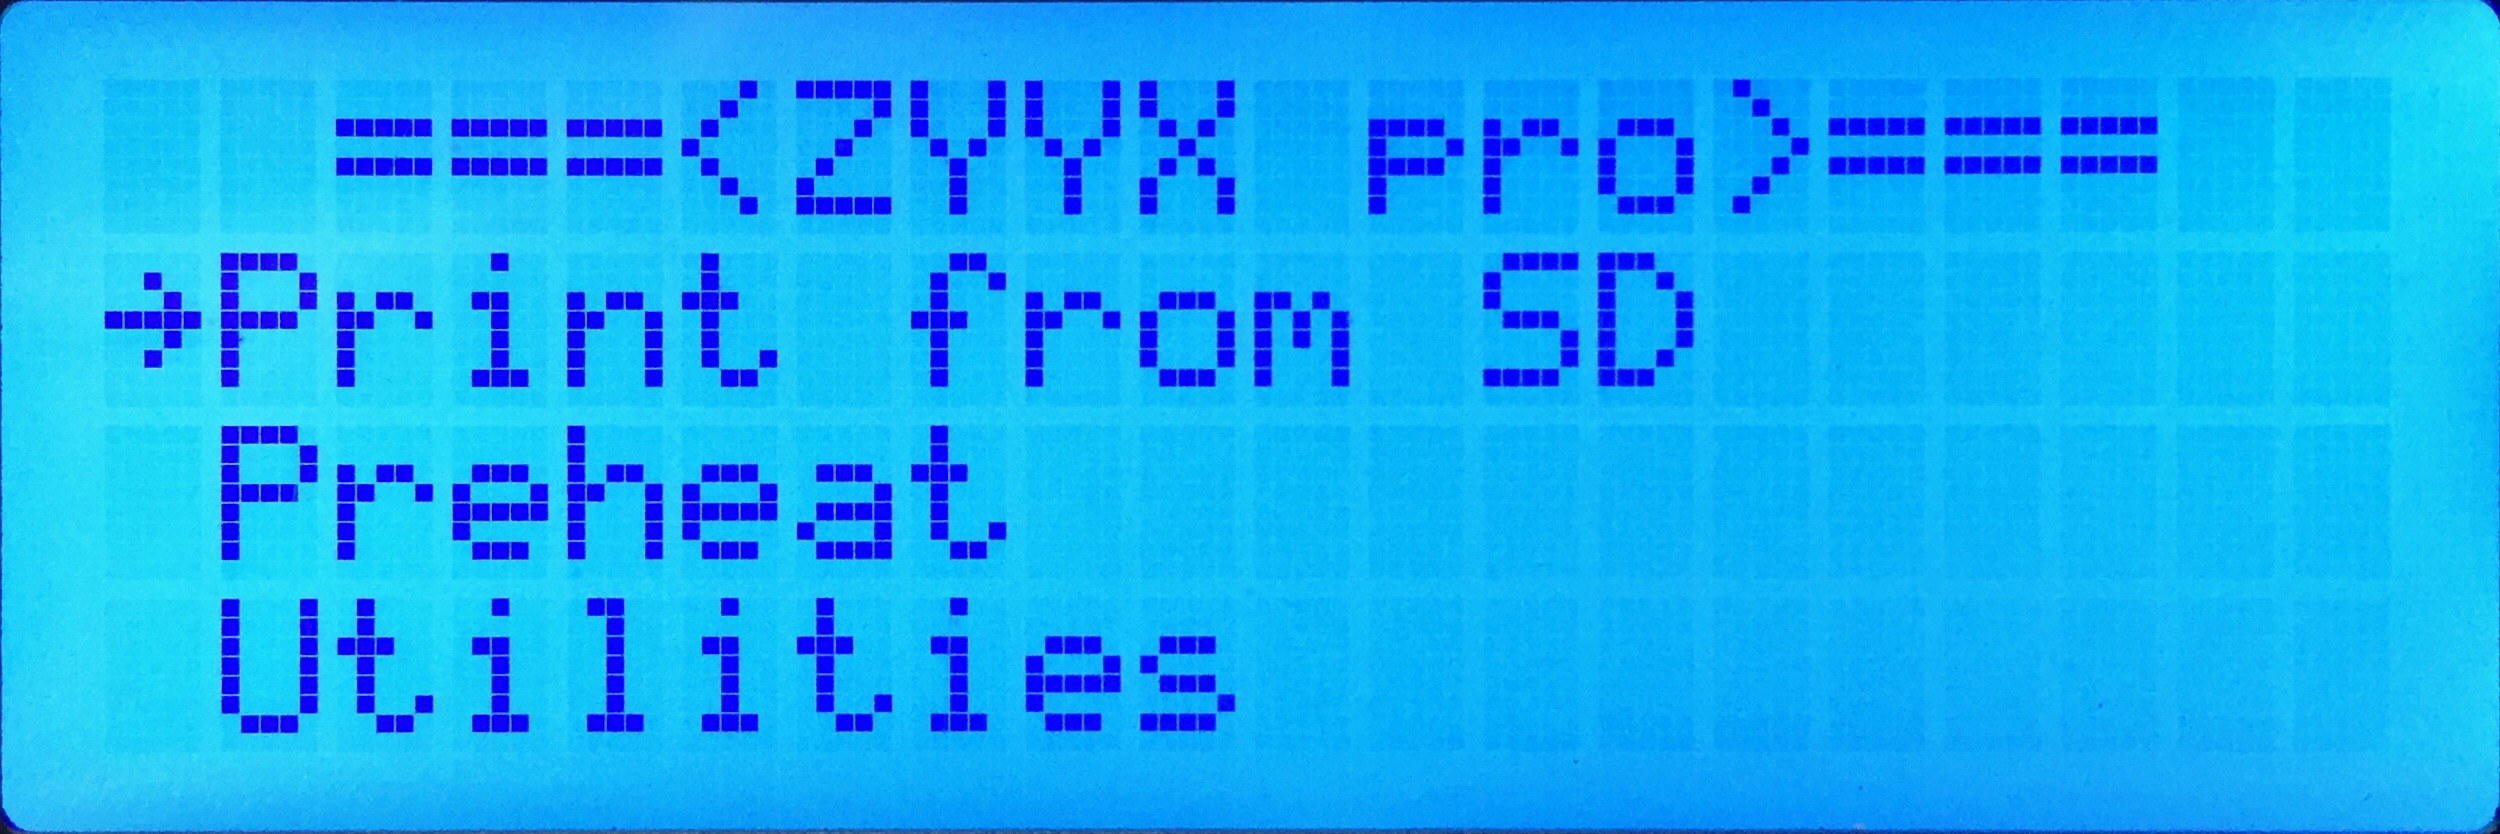
When a print file is stored on the supplied SD card, simply follow these instructions to print:
1. Starting the print
Choose Print from SD on the printer menu and then choose the print file with the Up/Down buttons. Press the green mid-button to start.
 →
→ 
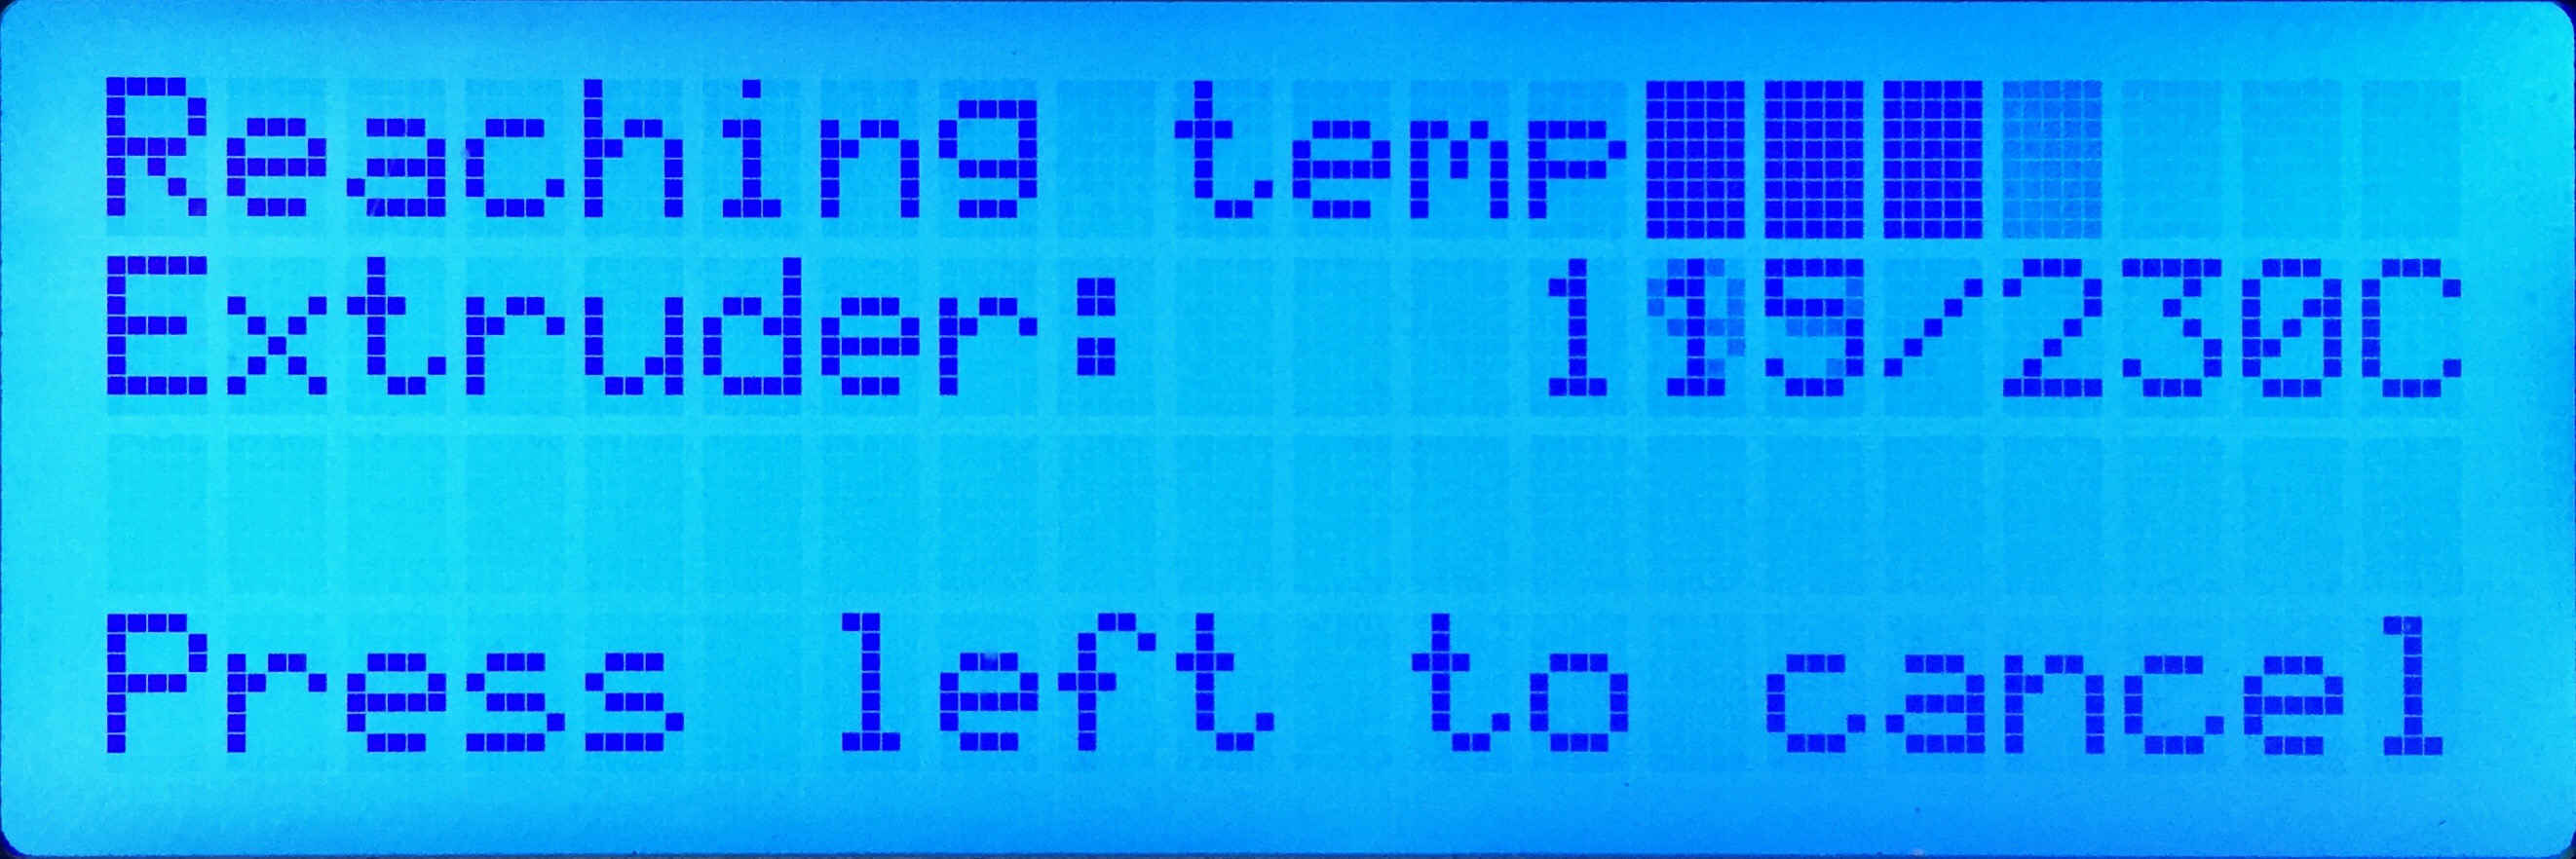
The printhead will heat up and then start printing your model.
|
If displaying the temperatures, please note that the chamber temperature display does not go below 30 °C. This means that if it displays 30 °C the chamber temperature is 30 °C or lower. |
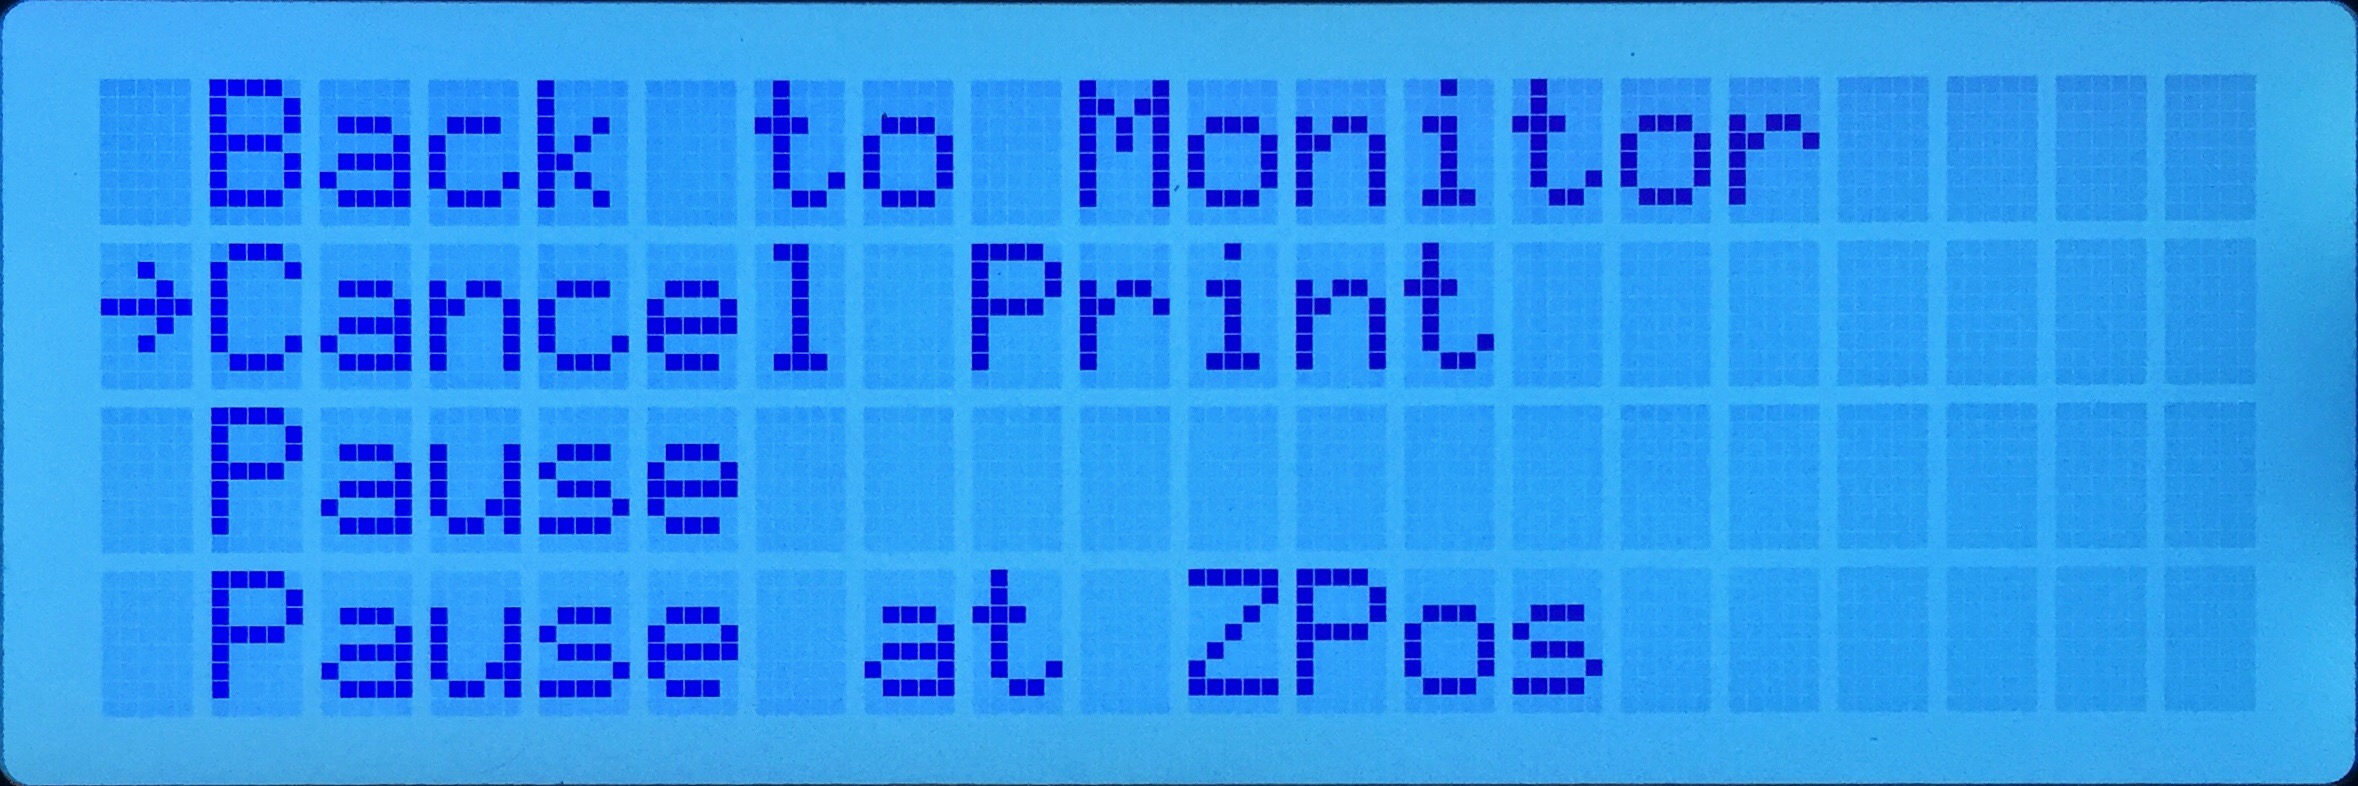
2. Cancelling a print
 →
→ 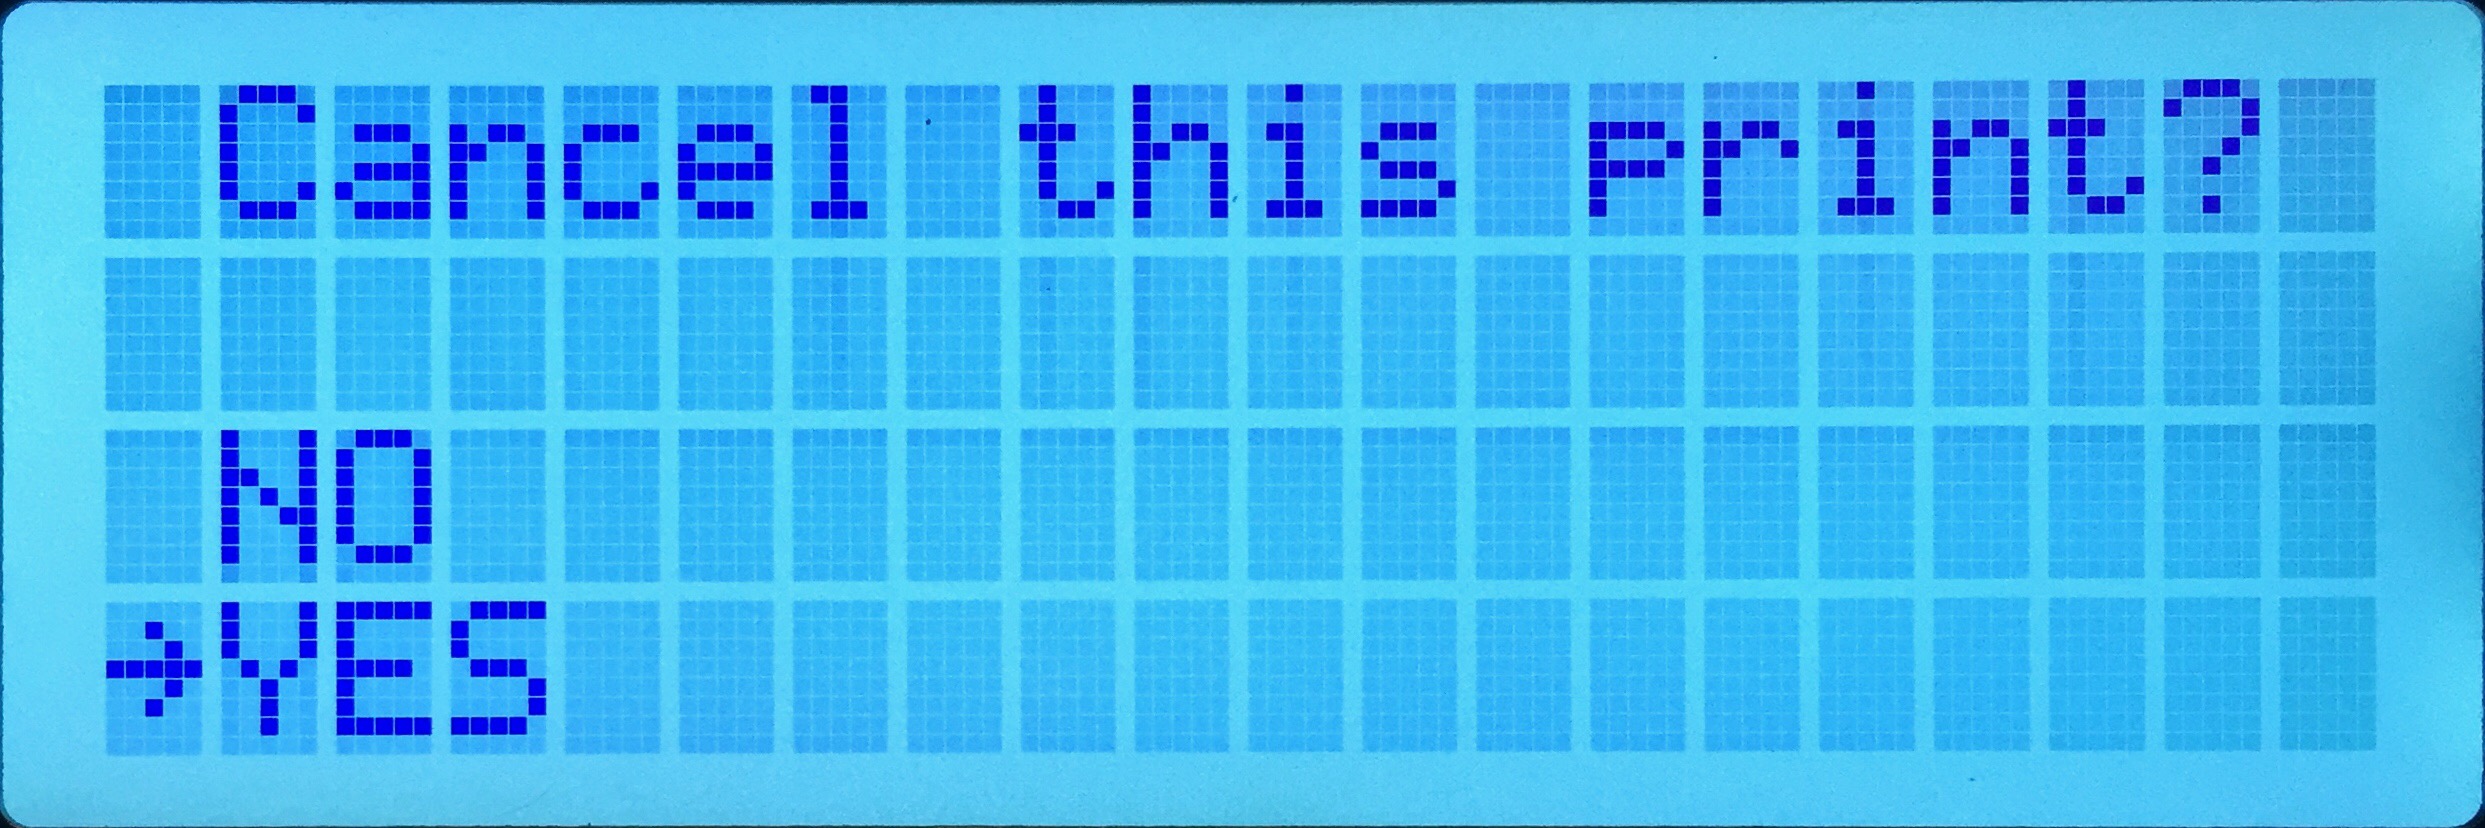
To cancel the print, press the Left button to bring up a selection of actions and select Cancel Print.
3. Print finished
When the print is finished, open the doors and remove the build-plate. Use the Spatula from the toolkit or a similar tool to remove the print from the build-plate.
|
Be careful when using the sharp Spatula. Recommended practice if print is big or difficult to break away from the build-plate is to put the build-plate vertically with one of its edges onto the floor and push with spatula between the build-plate and the print from above. Note the direction of the angled edge of the spatula and put the flat side towards the build-plate, the angled edge towards the print. |