|
<< Click to Display Table of Contents >> Setting Up the ZYYX pro Printer |
  
|
|
<< Click to Display Table of Contents >> Setting Up the ZYYX pro Printer |
|
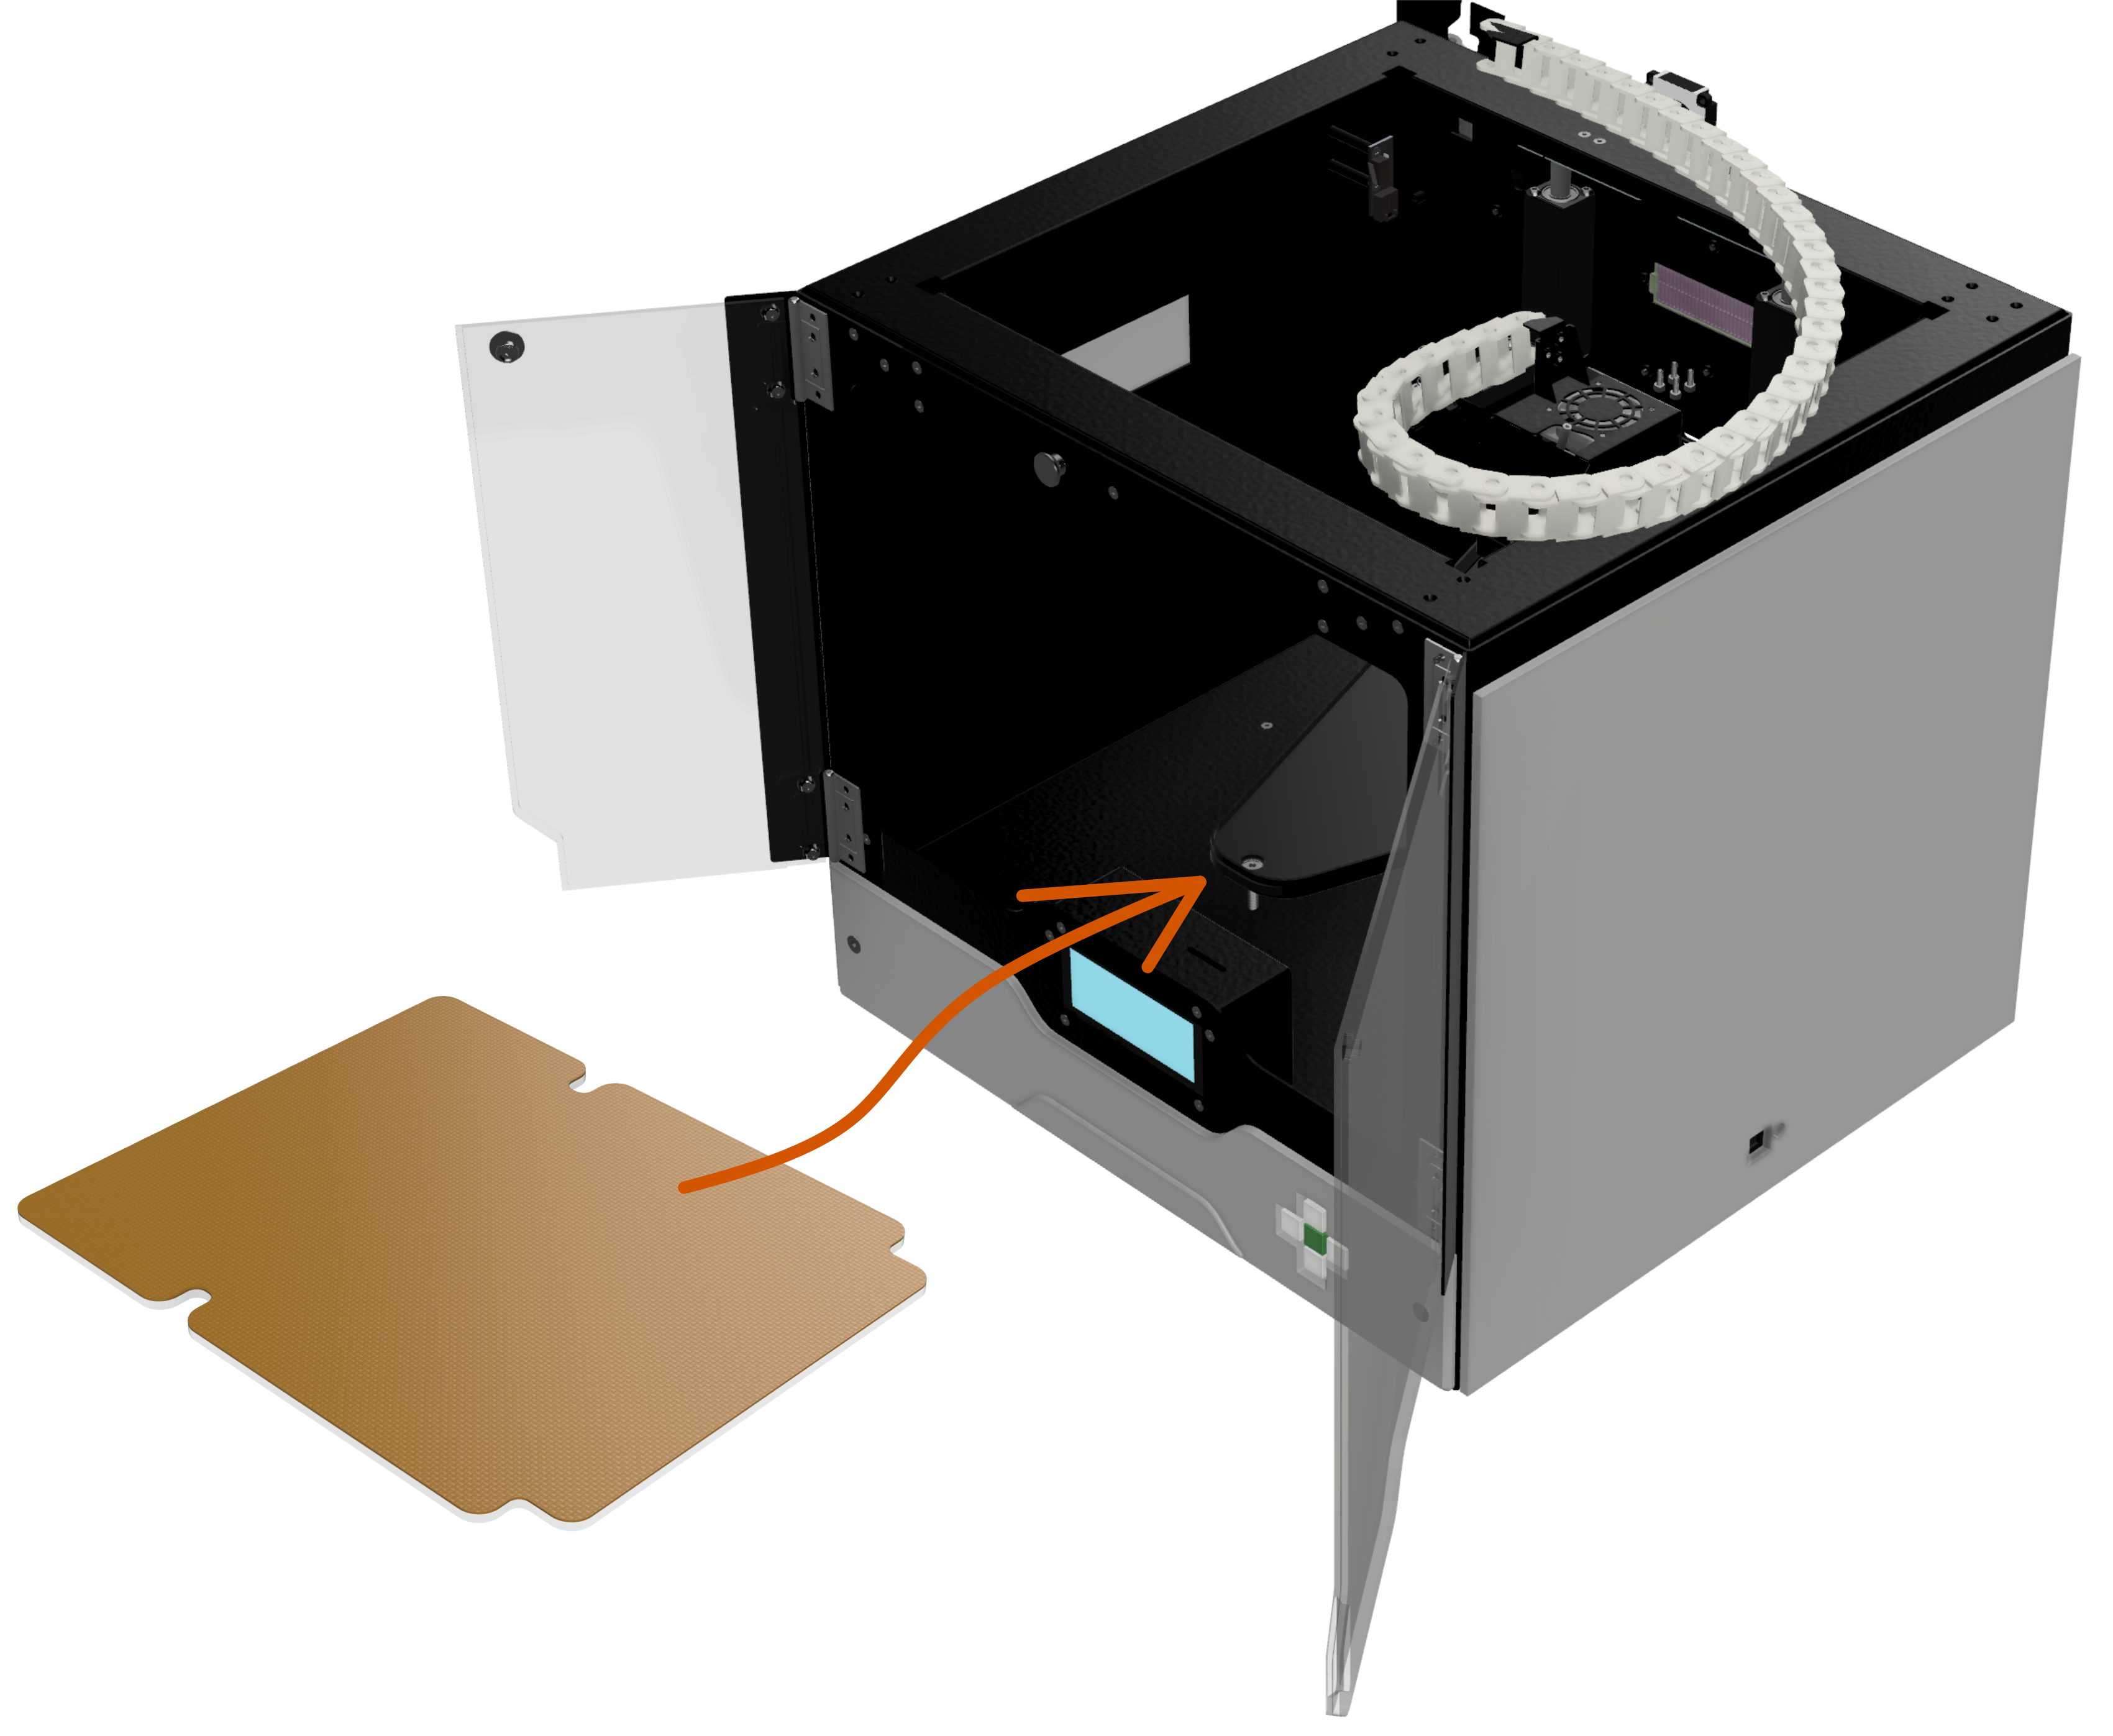
Insert Build-Plate
Place the build-plate in the printer. Make sure that all three magnets under the build-plate are positioned correctly in the circular recesses of the triangular build-plate holder.

Installing Filament - STEP 1
Turn the power on. Open the doors. Place the filament roll inside the printer on the spool support (1). Make sure that the filament is fed from the bottom of the roll over the stand edge ![]() . Cut off any molten plastic from the tip of the filament string. Push the filament tip into the white funnel
. Cut off any molten plastic from the tip of the filament string. Push the filament tip into the white funnel ![]() at the back wall of the printer and through the feed tube until the filament string appears close to the printhead. The filament tip will eventually stop against the feeder wheel.
at the back wall of the printer and through the feed tube until the filament string appears close to the printhead. The filament tip will eventually stop against the feeder wheel.

Loading Filament - STEP 2
By using the function buttons, perform the following steps to load the filament.
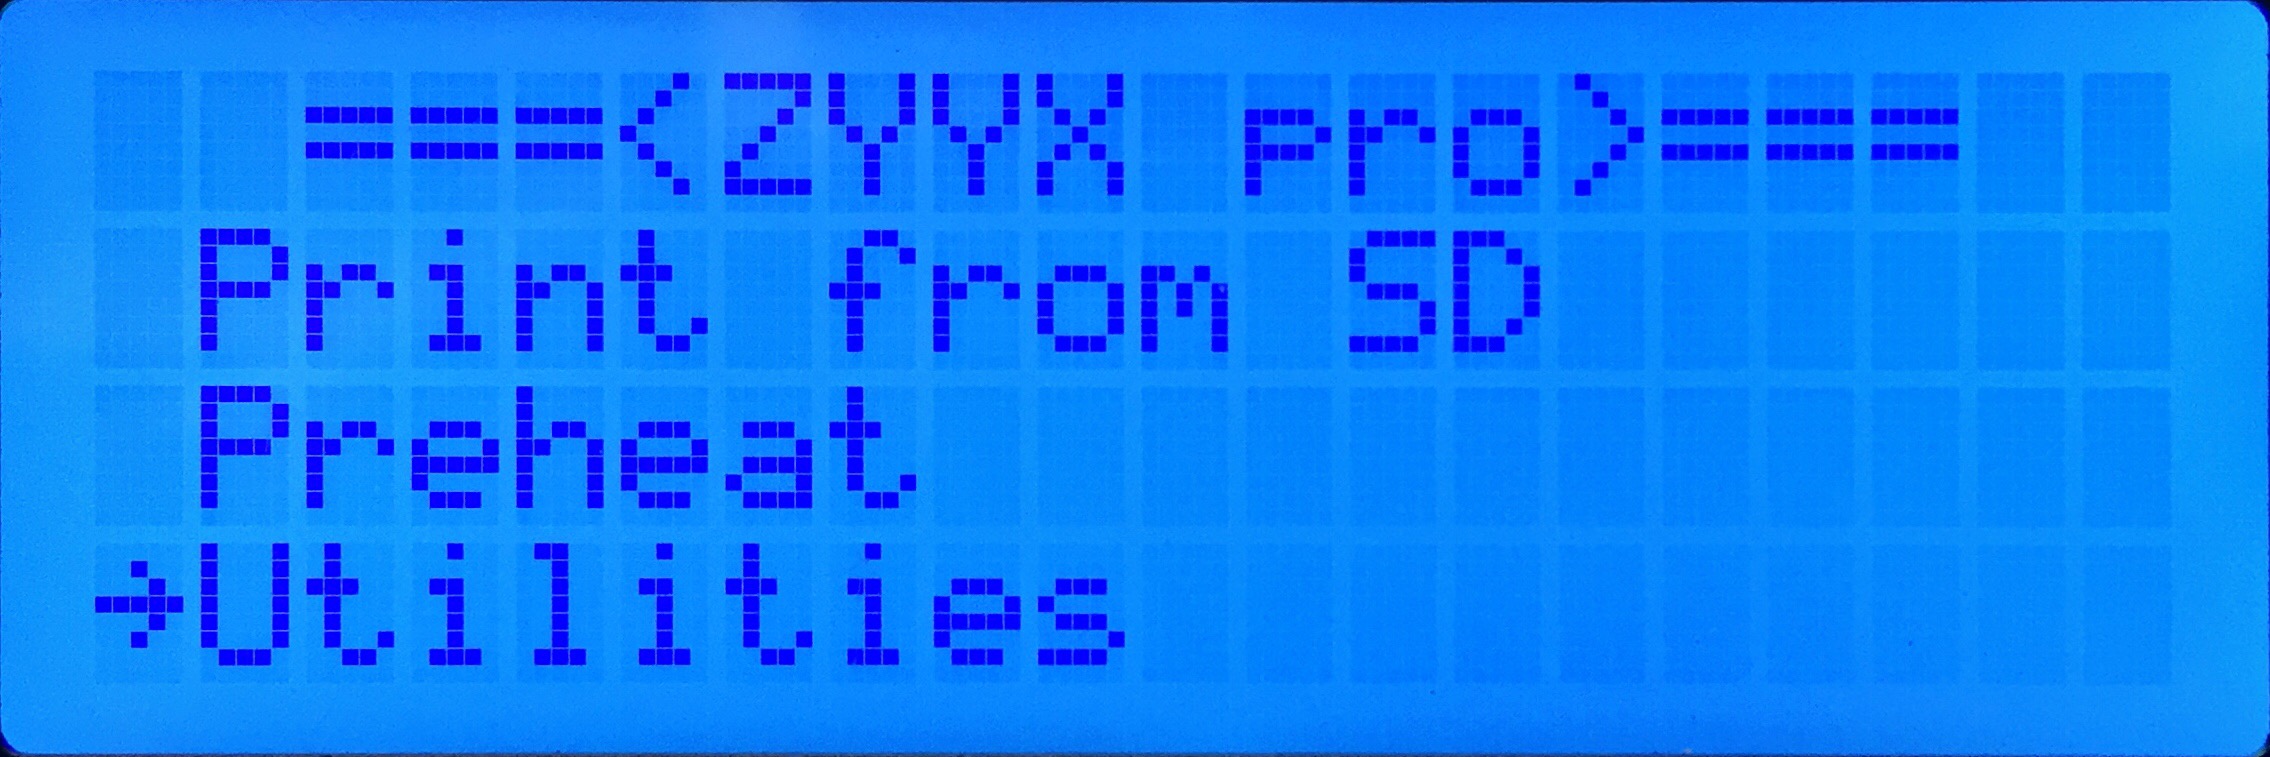
1. Choose Utilities → Filament loading
 →
→ 
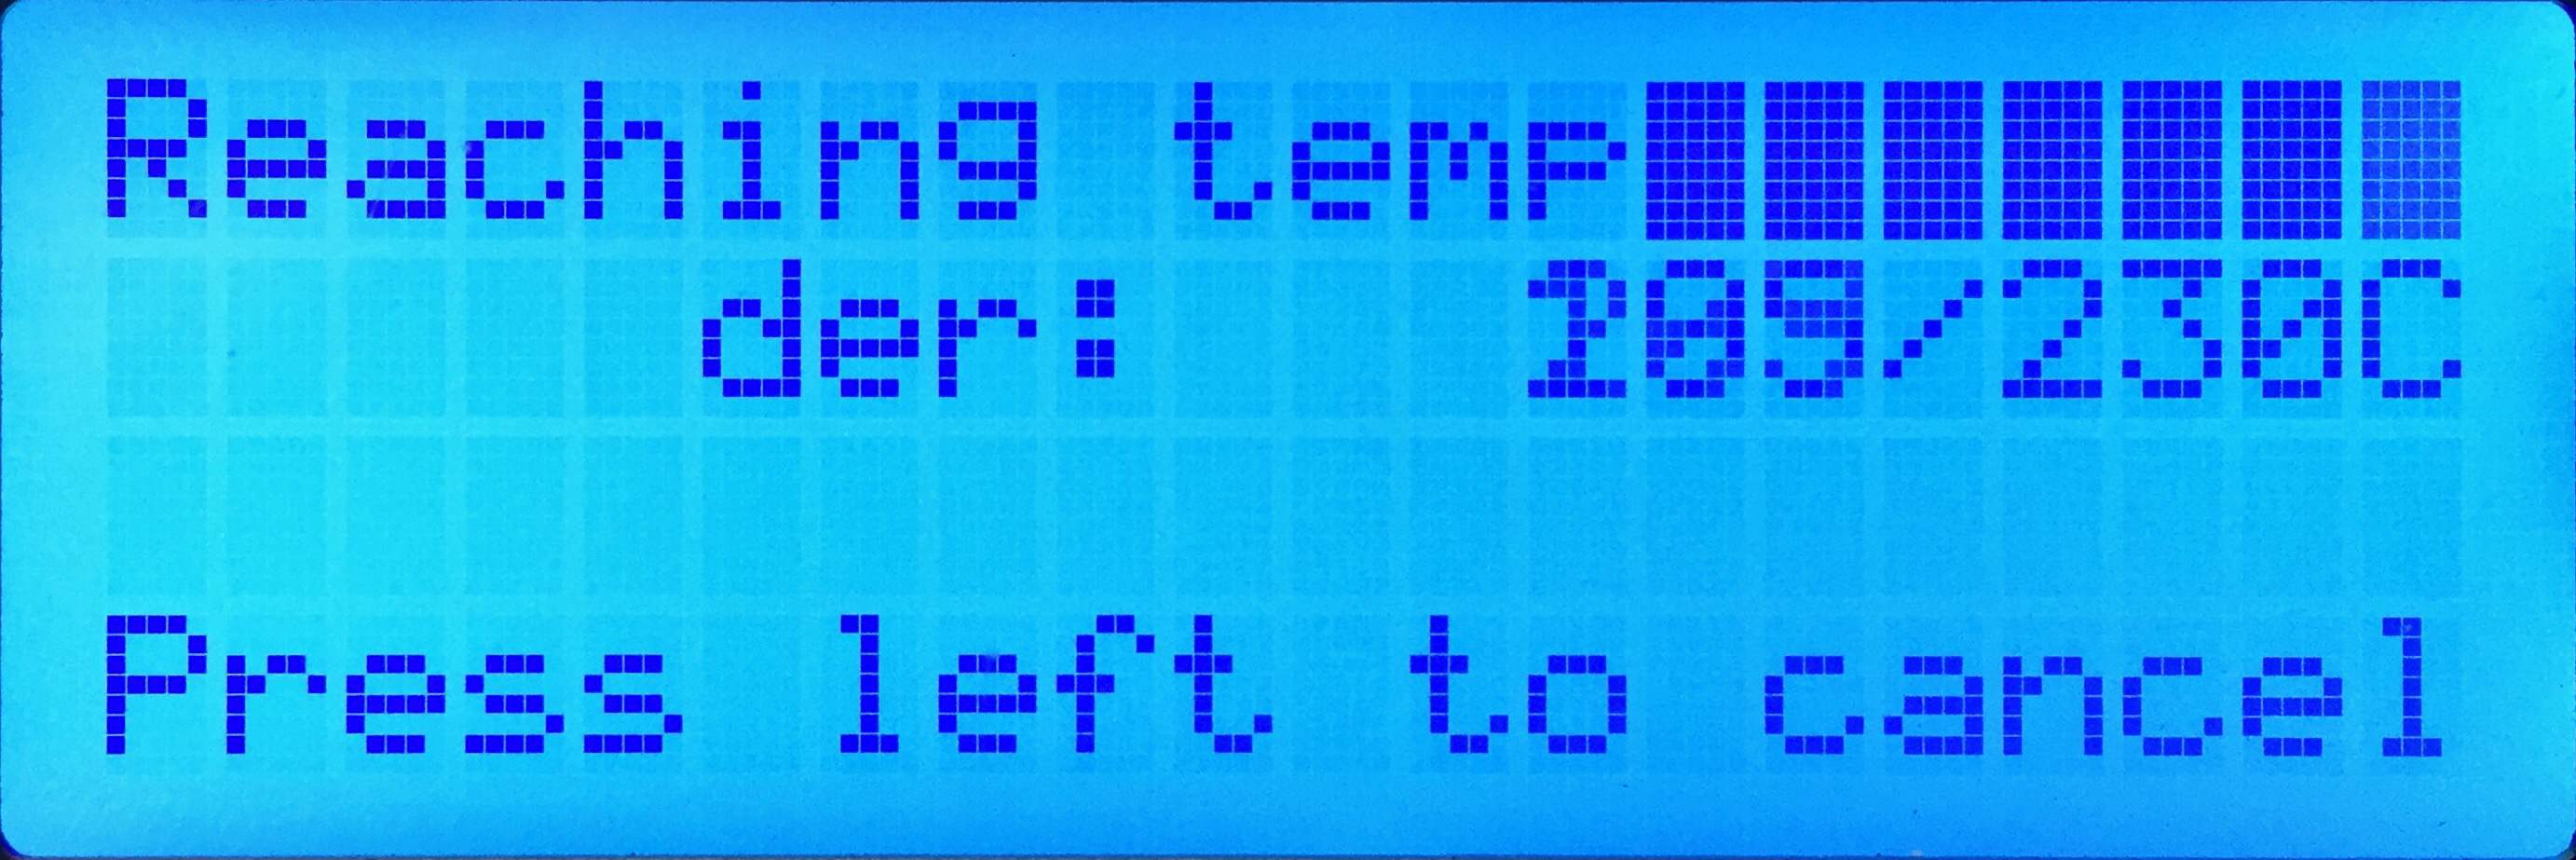
2. Choose Load → Wait for heating up
 →
→ 
|
3. When the message shown to the left appears on the LCD, push the filament some more. Stop pushing as soon as the feeder wheel is gripping the filament. Wait until the correct color plastic extrudes from below the SwiftTool nozzle and press the green center button to exit. |
Now the printer is ready for printing.
|
When unloading the filament, make sure to keep the filament wire tightly wound on the roll and fixate the loose end of the spool by using the holes/slots on the side of the roll. This to avoid tangling of the filament roll. Also make sure to read up on and follow the filament handling instructions given in section Filament Handling. |
